PHOTO EXHIBITION PLANNER
Plan your photo exhibition before you hang it.
Arrange photos at real scale (mm), then explore the gallery in a 3D preview. Kakeru helps you plan layouts and framing, compare ideas, and prepare installation documents.
Desktop editing is recommended. Tablet touch support is experimental. You can try framing on this page from your phone.
Your photos are not uploaded to a server.
Build the venue and see it from eye level
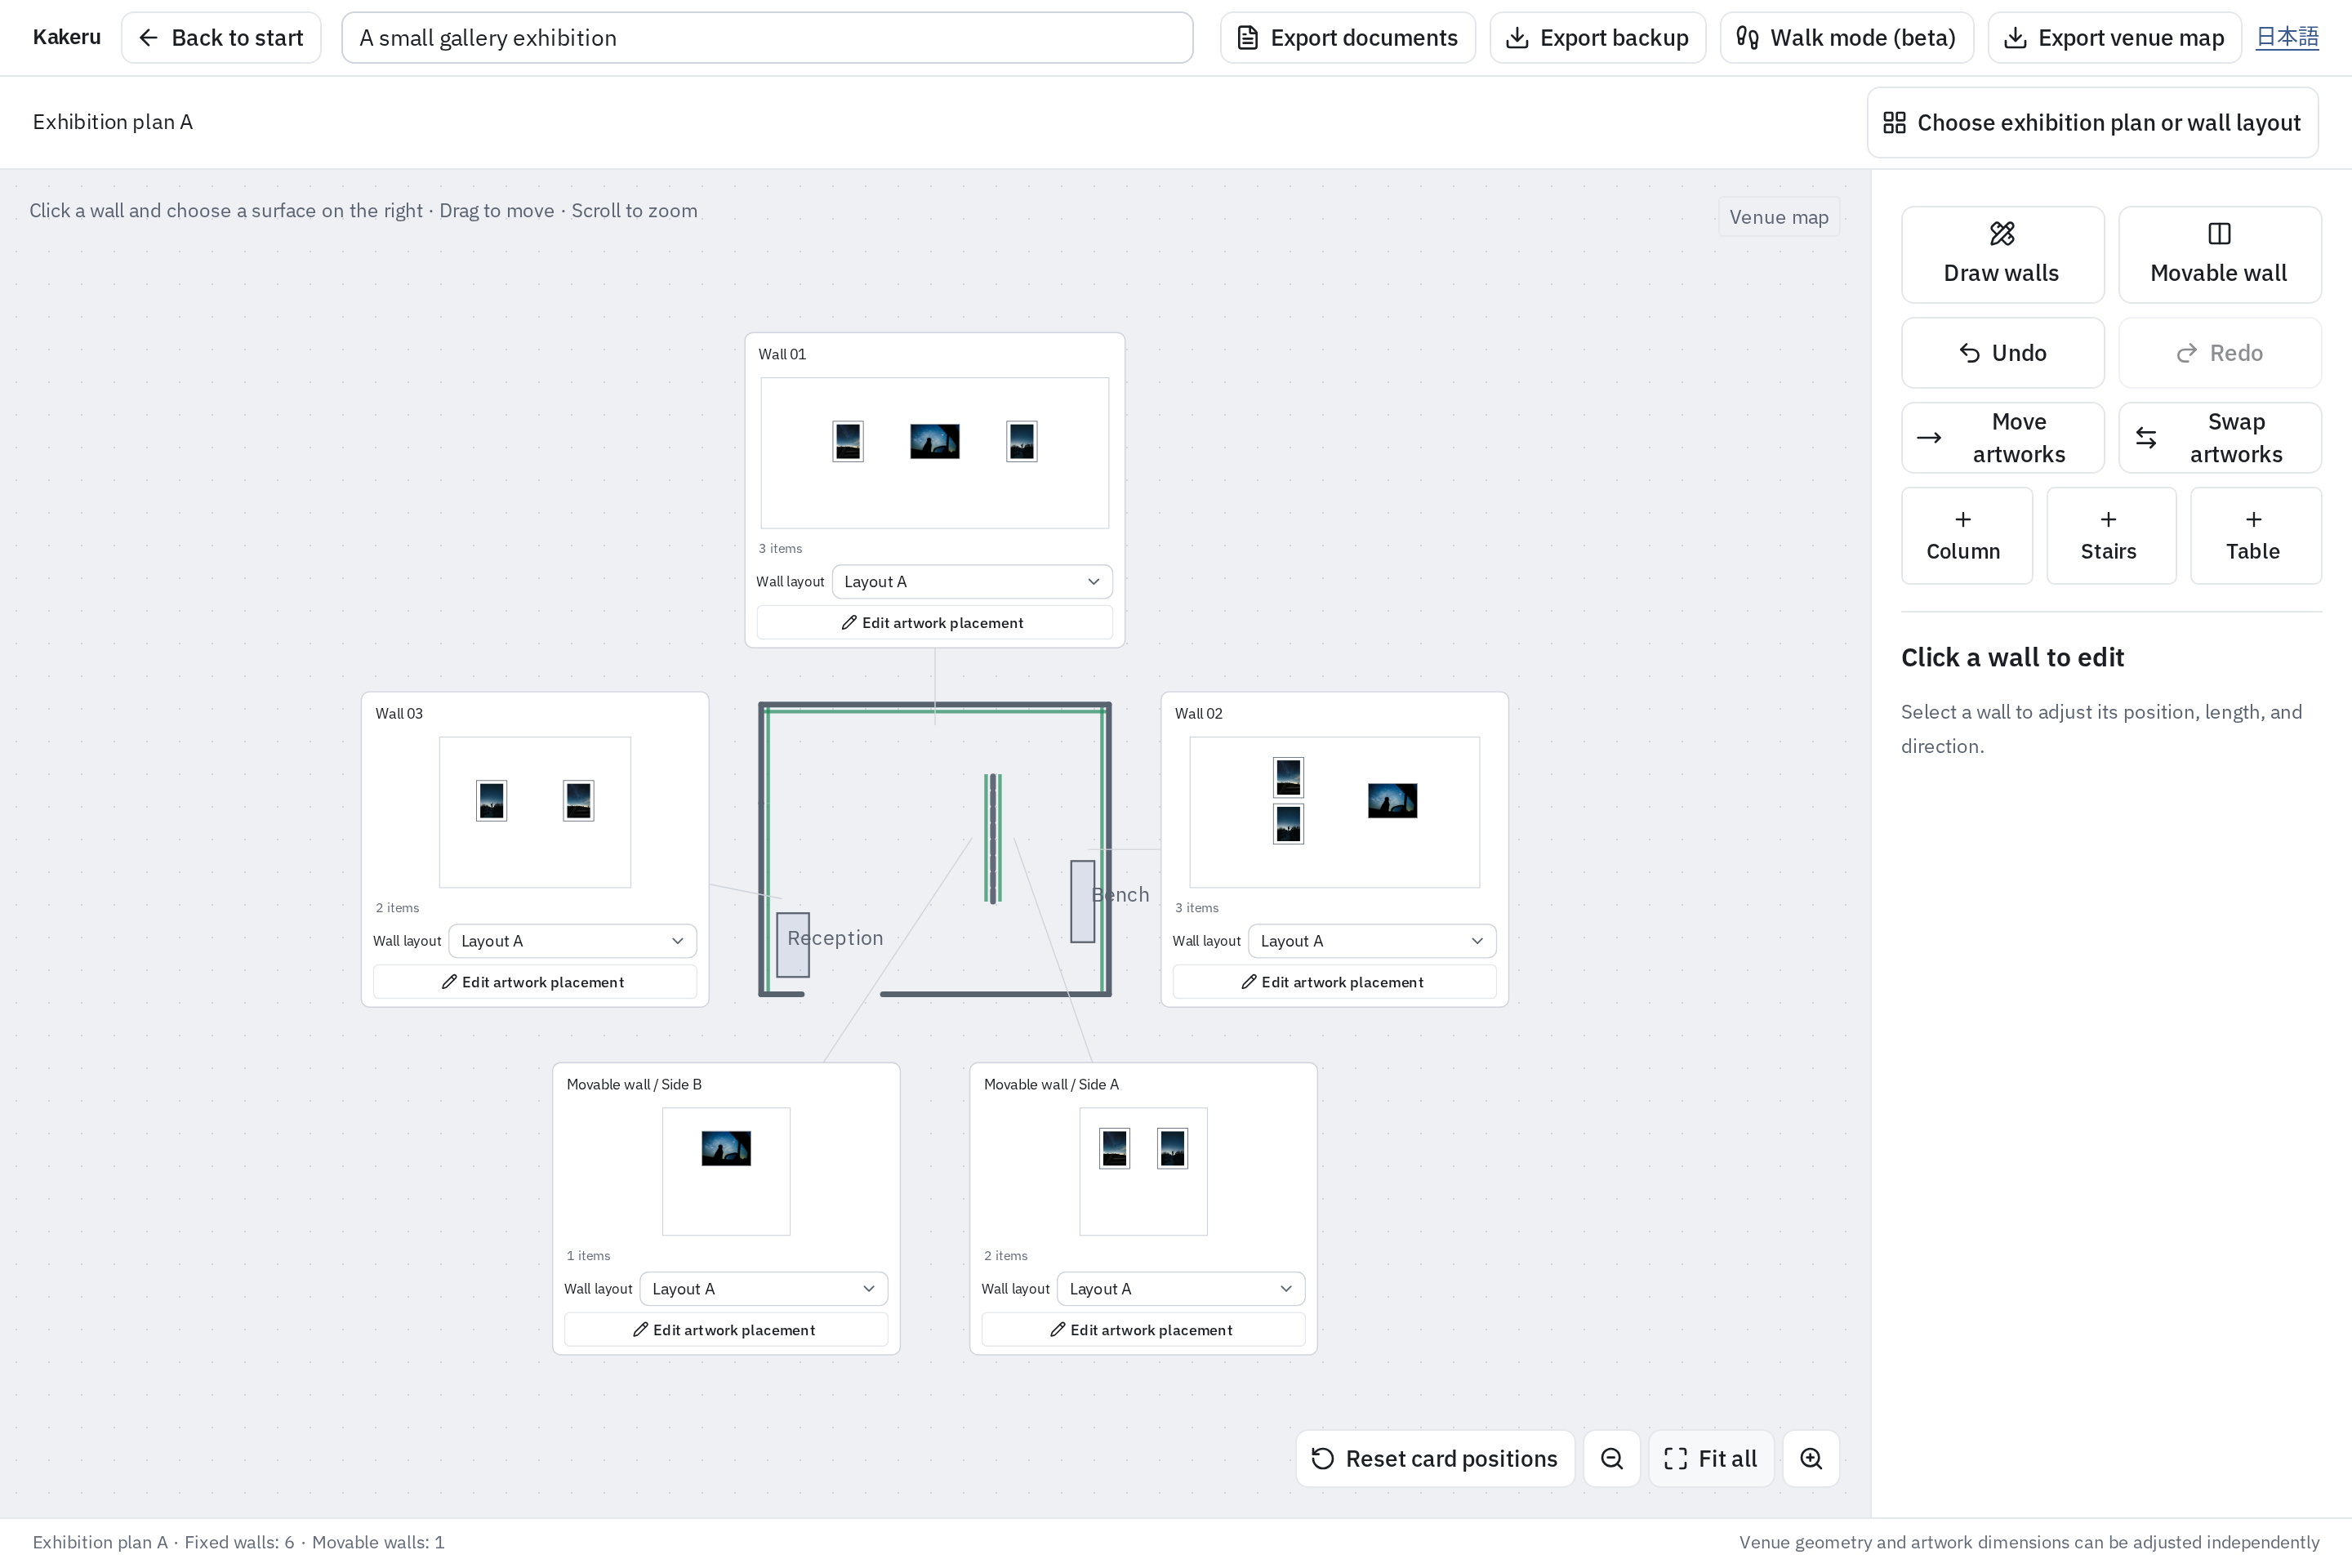
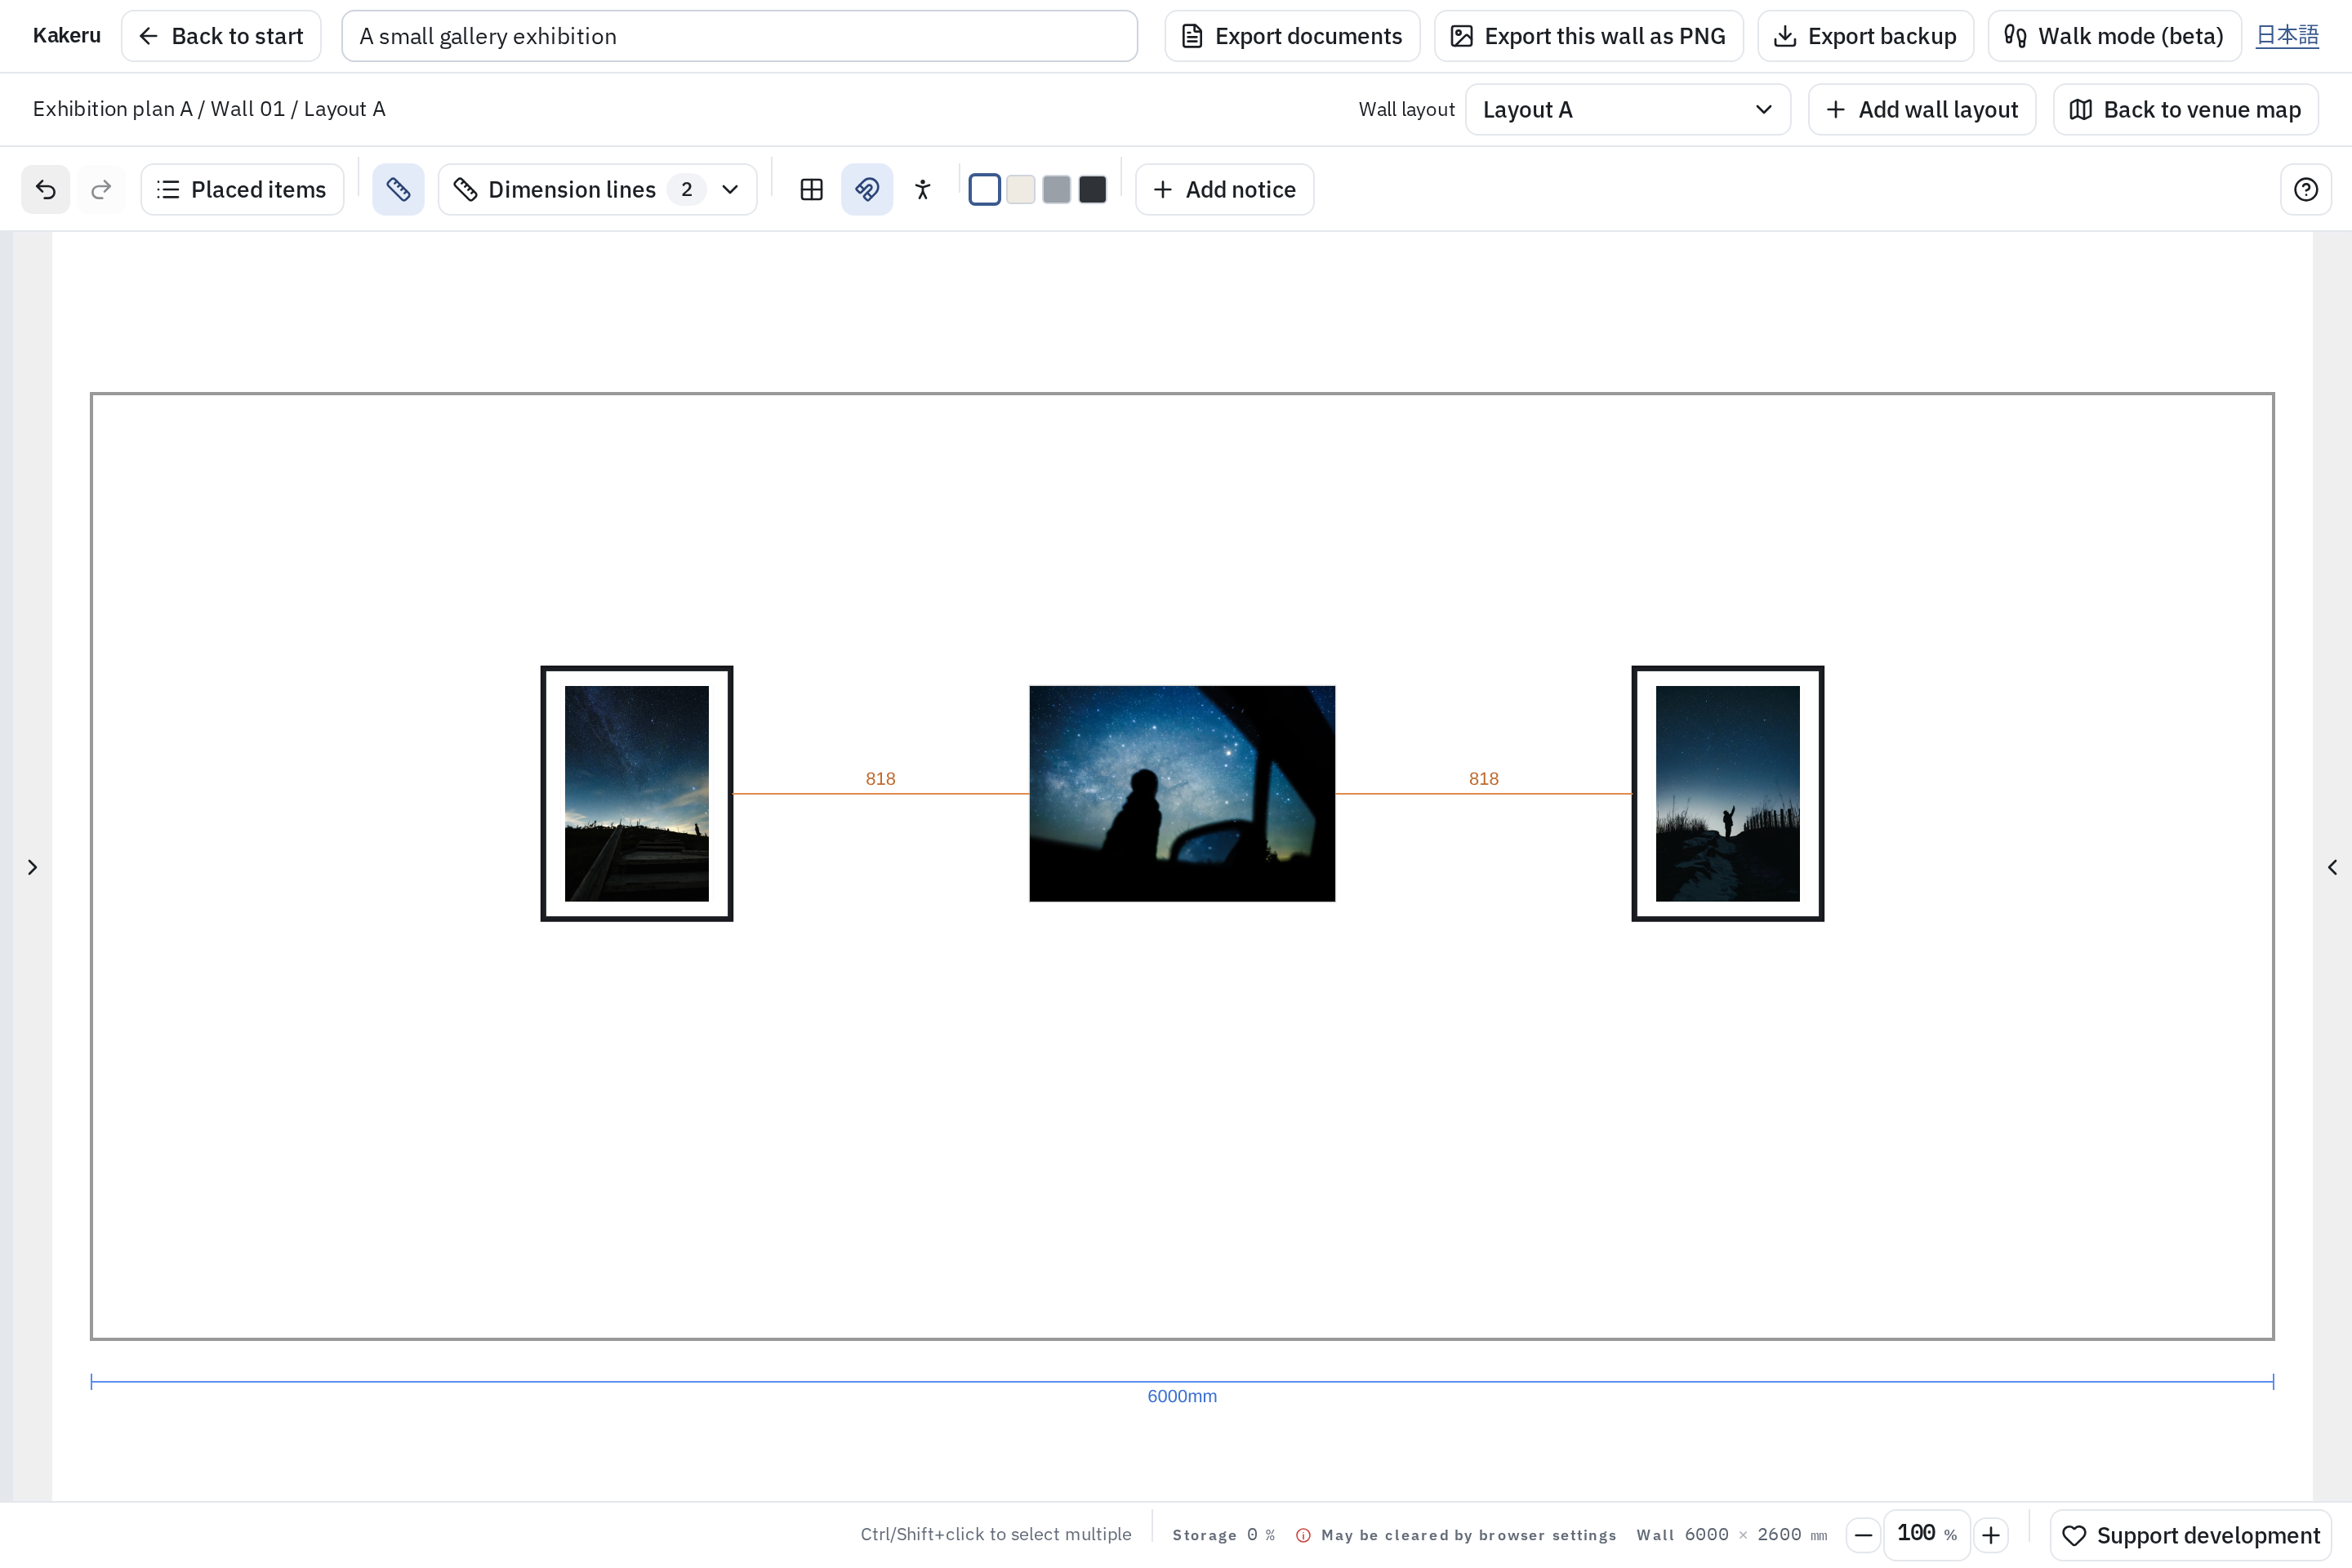
Plan a whole gallery for a solo exhibition, or just your space in a group show. These three views show the same exhibition plan and photo arrangement.
VENUE MAP / See the whole exhibition
 View full size (new tab)
FRONT VIEW / Arrange the selected wall
 View full size (new tab)
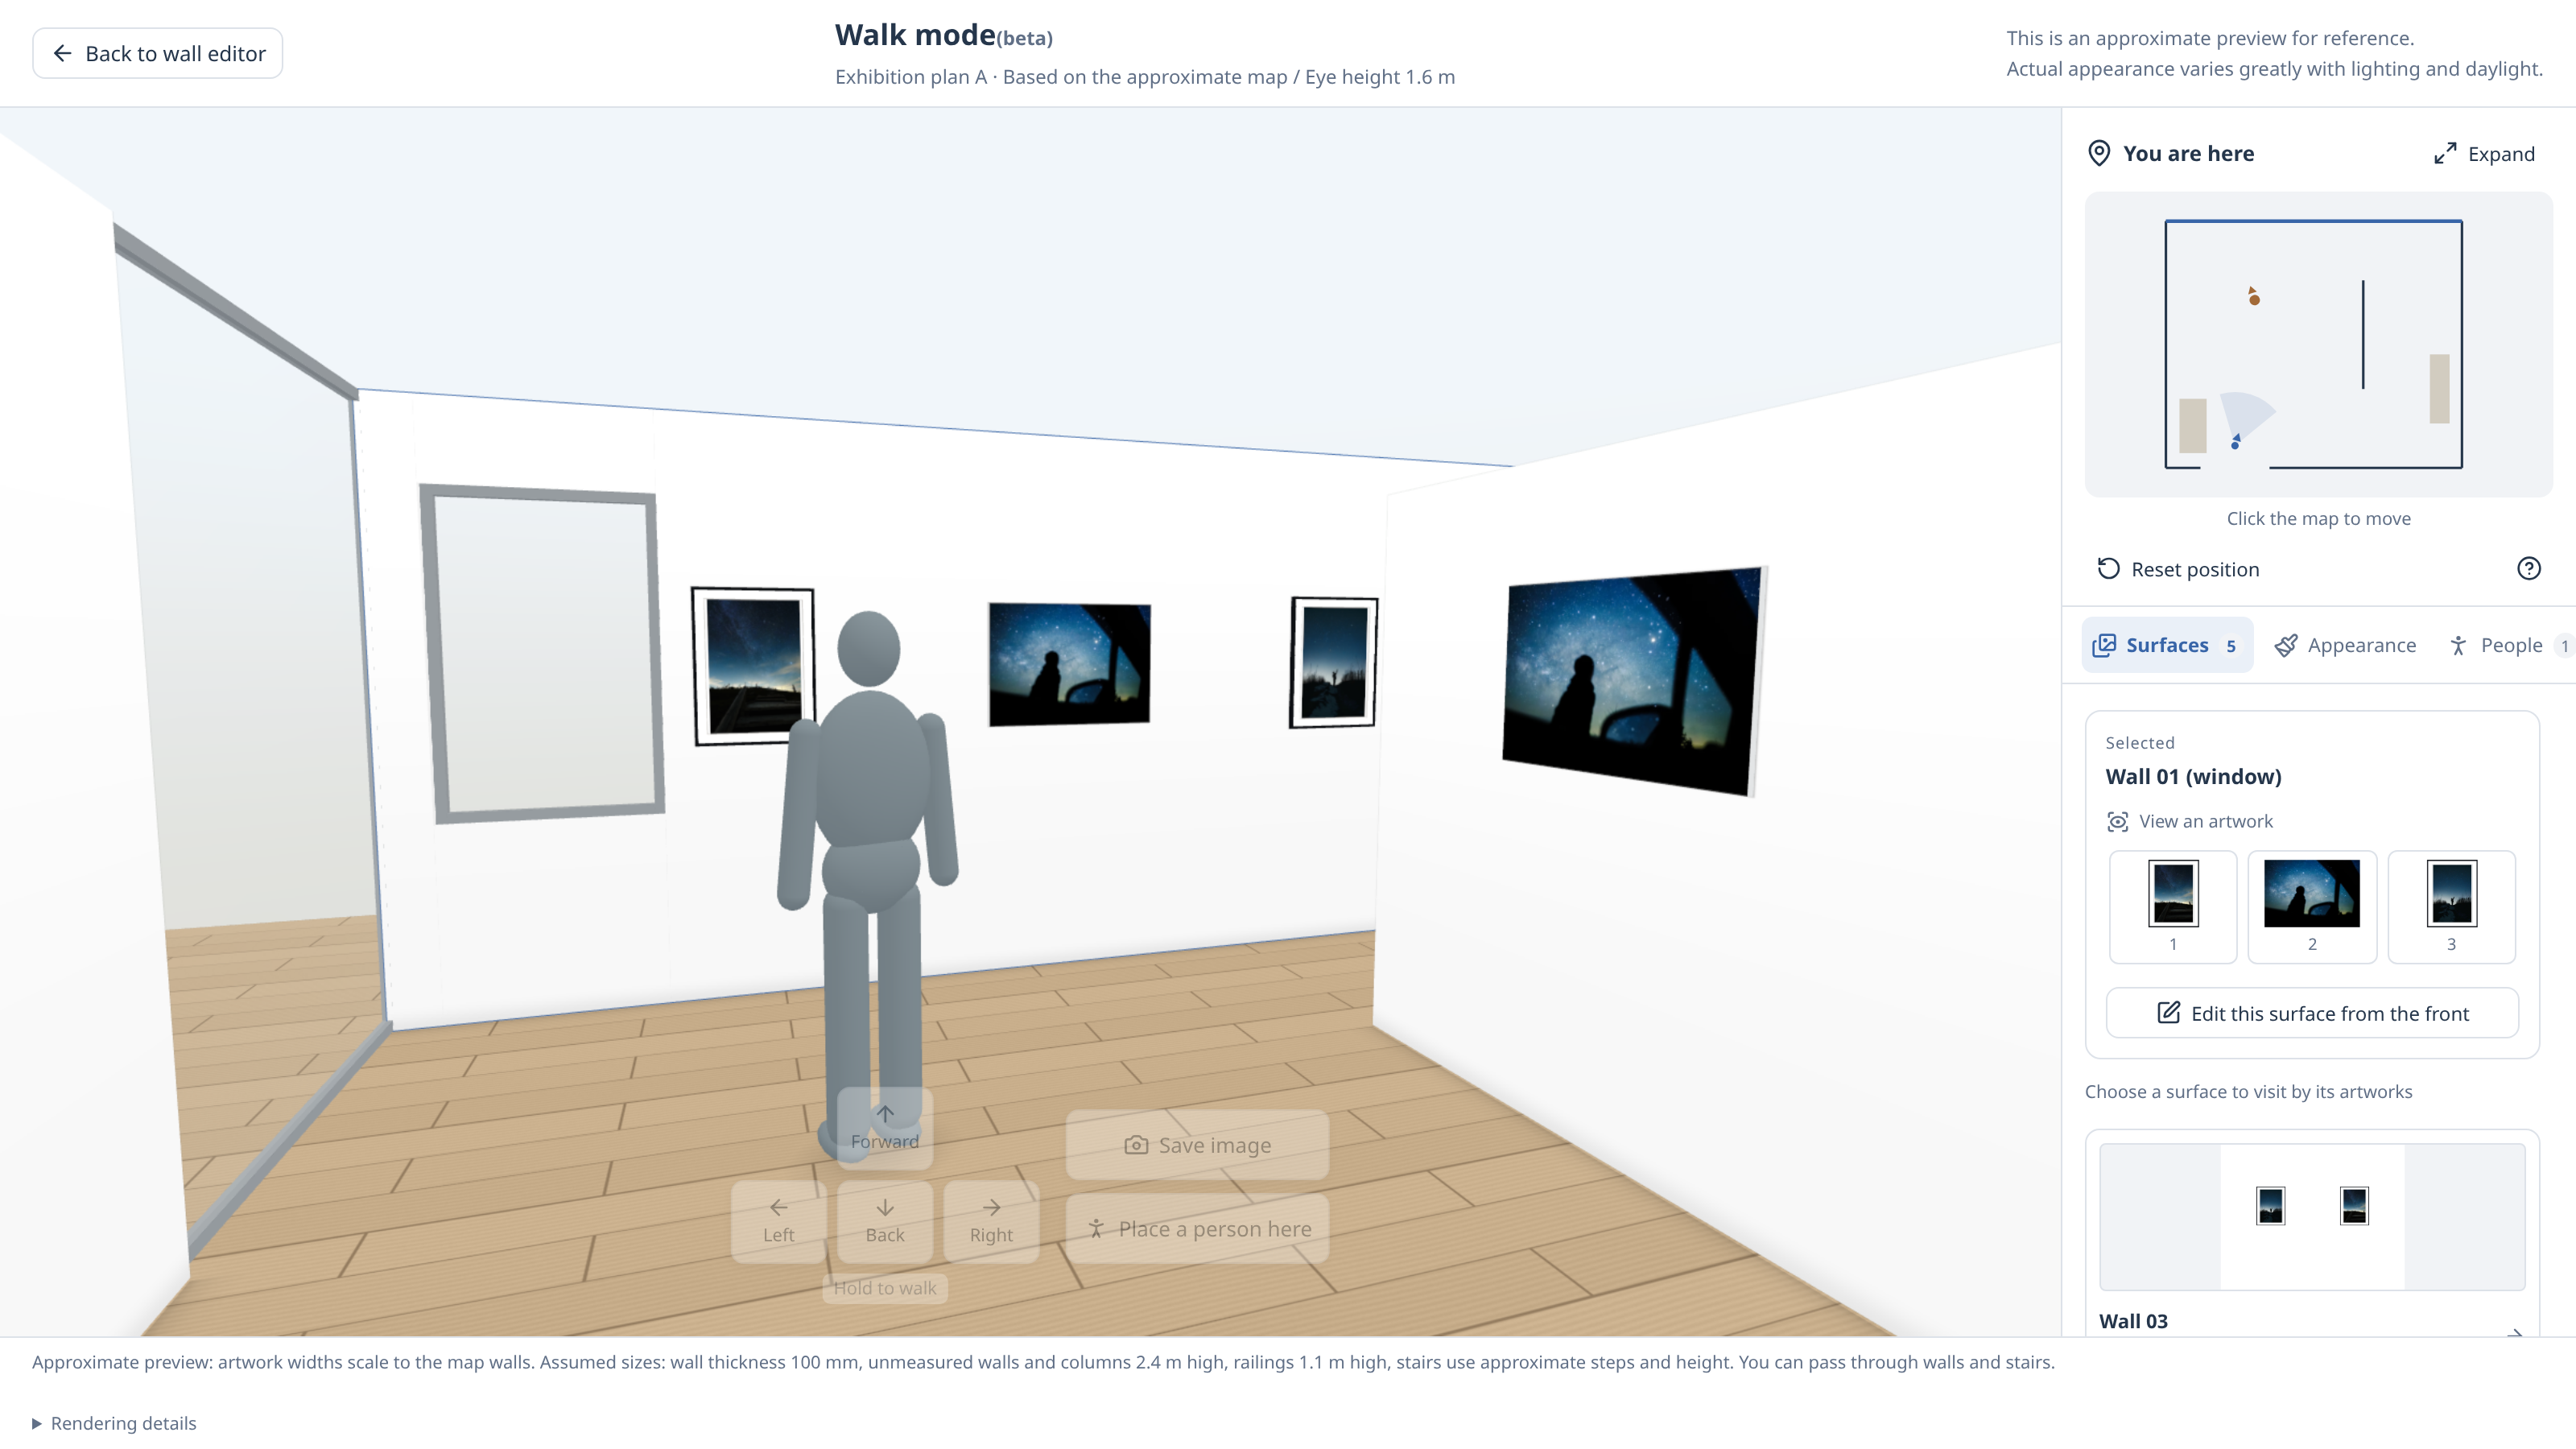
WALK MODE (BETA) / Walk through your arrangement
Explore a 3D space built from your venue map, moving between distant views and individual works. Return to a surface’s front editor whenever you want to adjust the arrangement.
 View full size (new tab)
Windows and glass walls
Choose window or glass appearances for walls and adjust window position and size. Floor patterns and table styles can also be changed.
People for a sense of scale
Place people in the venue to compare their scale with the works. You can also move to each person’s viewpoint.
Save the view as an image
Save the current view as a PNG, without the controls or settings panel, to share your arrangement.
Walk mode is an approximate preview based on the venue map. Check precise dimensions and spacing in the front editor. Windows and glass do not simulate daylight; actual lighting and daylight will change how the exhibition looks.
Compare layouts and framing
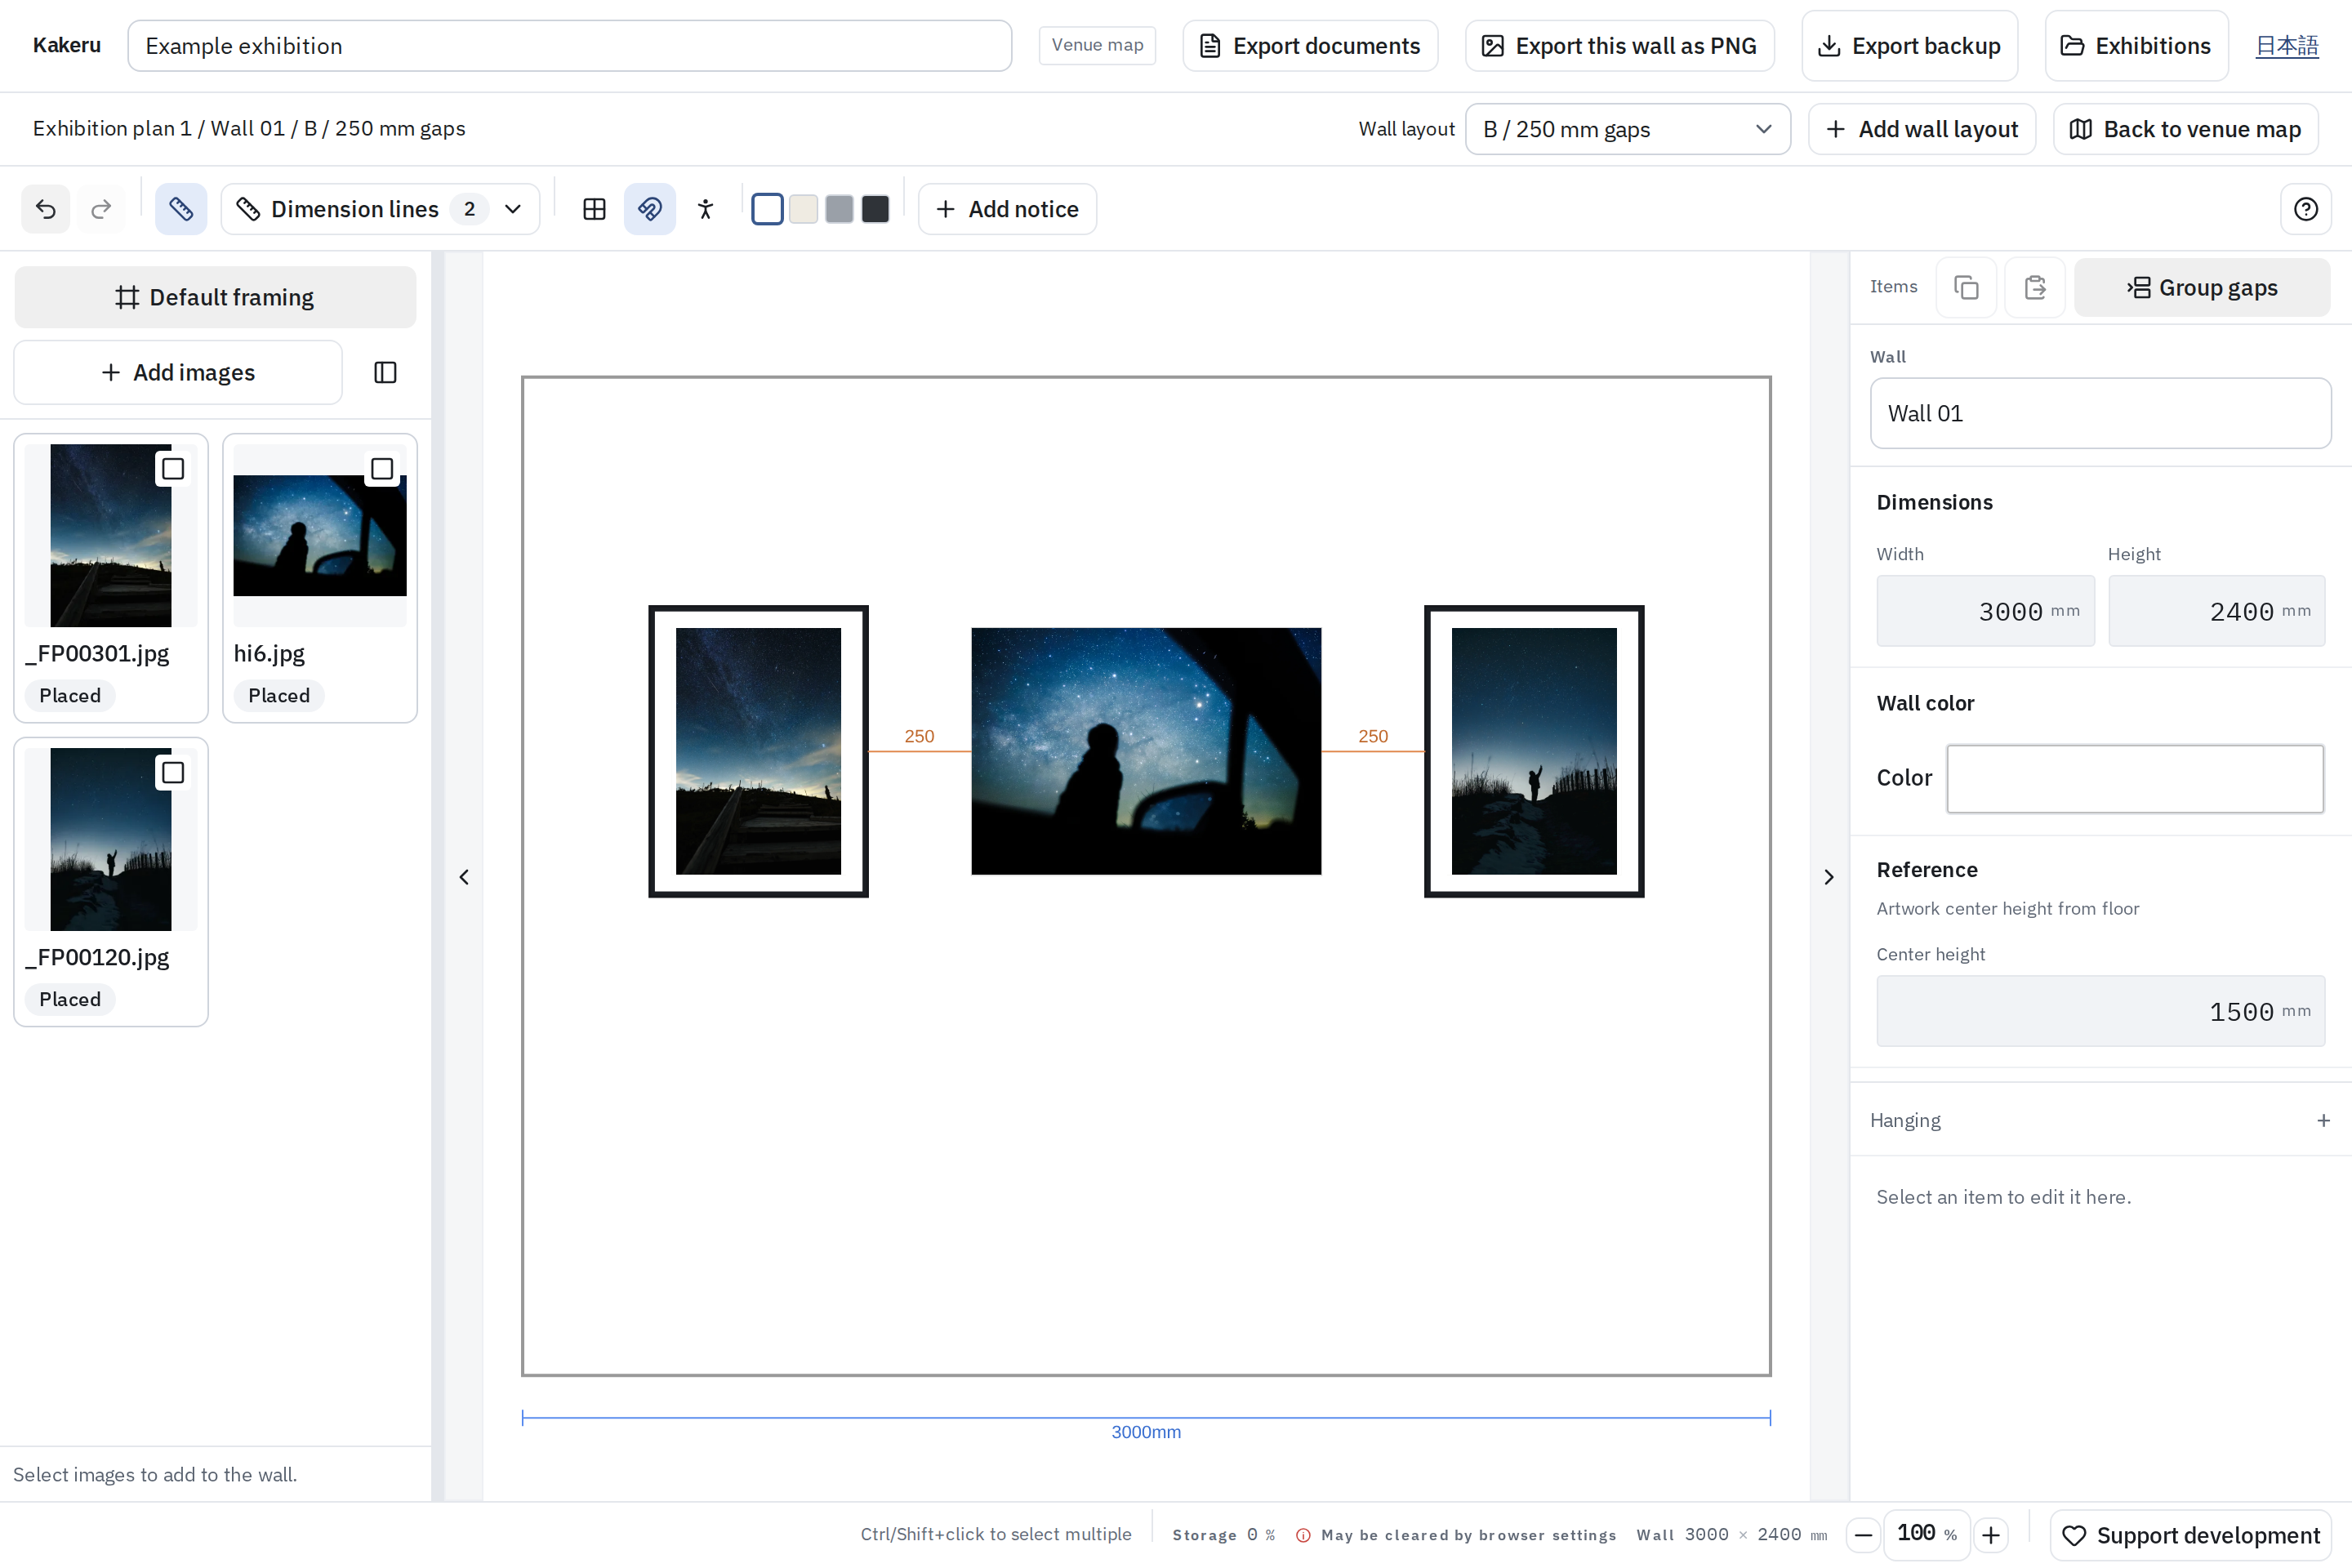
Keep plans for the whole venue and layout options for each wall. Compare photo spacing and height, then try frame and mat dimensions.
Try different spacing on the same wall
See the actual editor
 View full size (new tab)
How to set photo spacing and hanging height(opens in a new tab)
Try print, frame, and mat sizes
Set the paper and mat window sizes independently. The window dimensions, mat outer size, and frame overlap determine the visible mat margins and the finished outer dimensions.
524 × 698 mm
584 × 758 mm
Mat comparison illustration / An A2-sized window, 40 or 70 mm visible mat margins, and a custom 12 mm frame with zero overlap. Photo placement is illustrative. These are example dimensions, not a ready-made product.
How to choose print sizes and mat dimensions(opens in a new tab)
Try print sizes and framing
Sample photo
Try the sample or choose your own photo. Your photo is not sent to a server. Colors are approximate.
Photos and settings in this trial are not saved or carried over to the editor. Reloading restores the sample.
Check the installation measurements
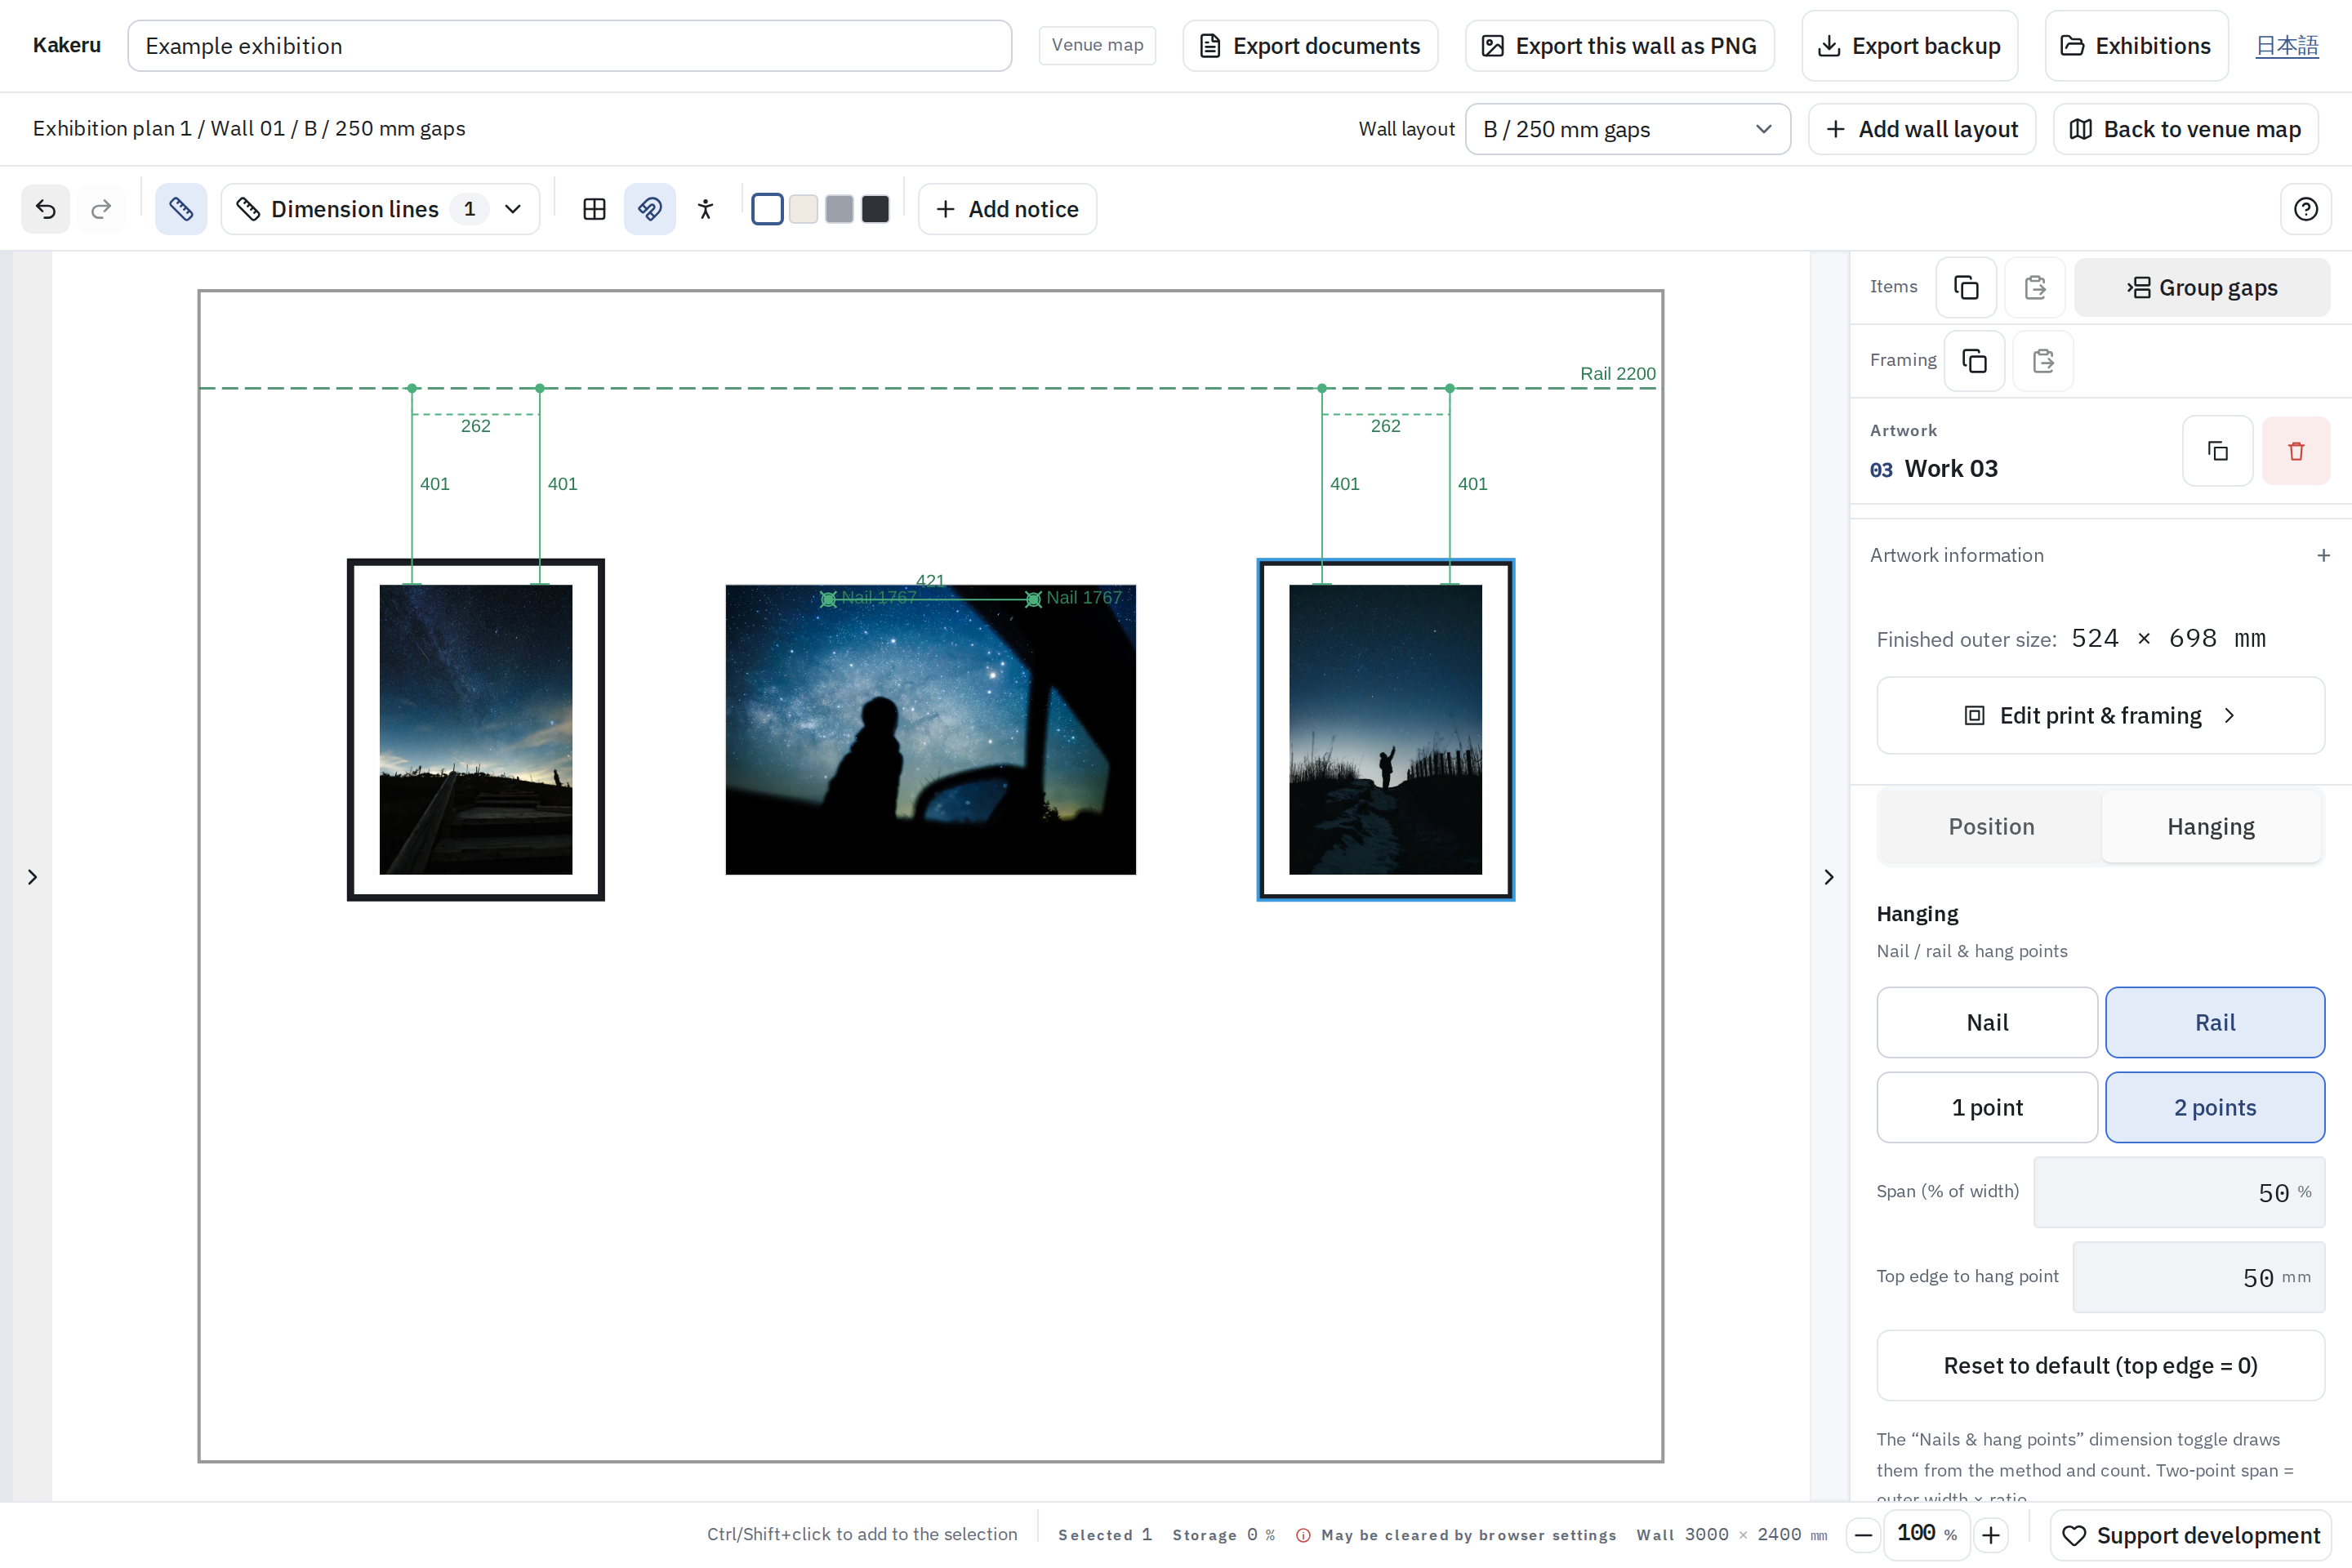
Set nail or rail hanging for each work. Enter the rail height and the distance from the frame’s top edge to its hanging points to see the installation dimensions.
 View full size (new tab)
Nail positions
Check the height from the floor and the horizontal position from the left edge of the wall.
Picture-rail wires
See the wire length from the rail to each hanging point, and the spacing between hooks.
Use your hardware measurements
Measure the back of the actual frame and enter the distance from its top edge to the hanging point.
Take the dimensions to the venue
Export an exhibition overview, installation document, or wall layout comparison as a PDF. You can also export the current wall as a PNG.
Exhibition overview
Share the venue map and the layouts for each surface.
Download example ↓PDF / 02Installation
Take the placement and hanging measurements to the venue.
Download example ↓PDF / 03Wall layout comparison
Compare several layouts for the same surface side by side.
Download example ↓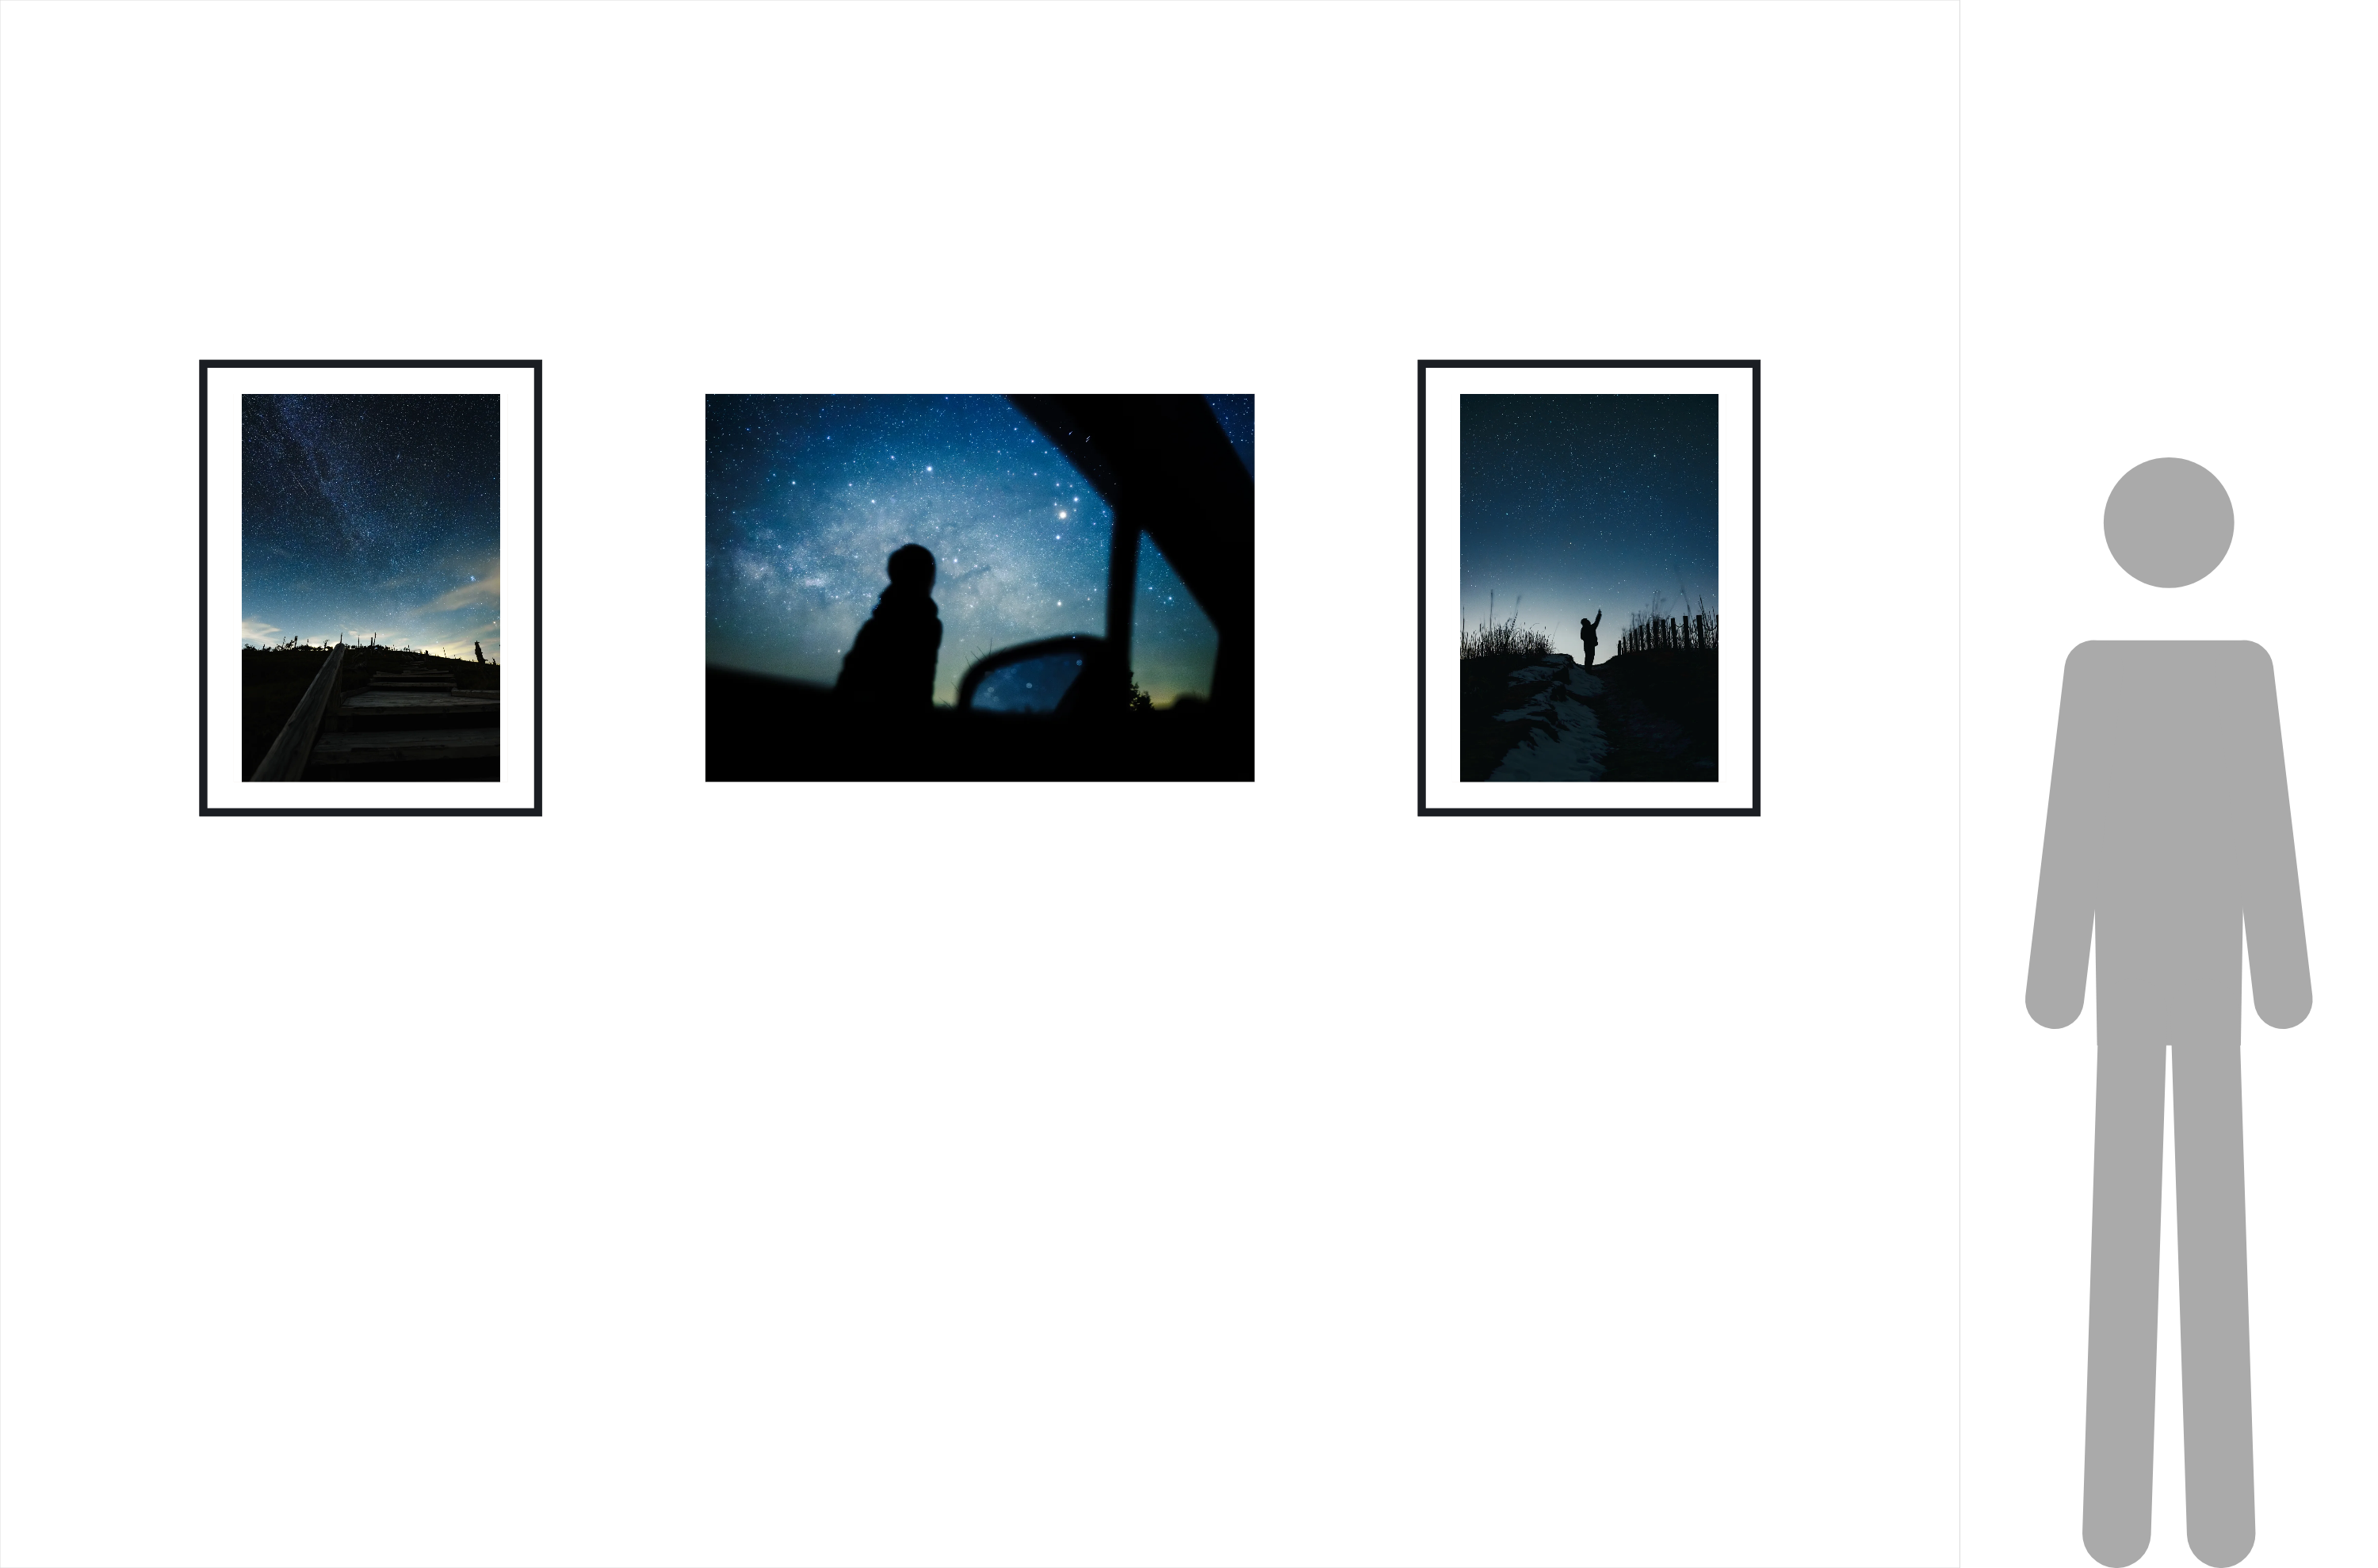
PDF headings and notes are in Japanese; entered names are kept as entered. Save a .kakeru backup to restore the exhibition with its images.
You can start with just one wall.
Try a layoutFree · No sign-upFrequently asked questions
- Does it cost anything?
- Kakeru is free, with no sign-up.
- Where are my photos saved?
- The exhibition editor saves photos and exhibition data in your browser. Export a .kakeru file for backup. The framing trial on this page does not save your photos or settings. Reloading restores the sample. Neither sends your photos to a server.
- Can I plan just my wall in a group exhibition?
- Enter the width and height of your allocated wall to plan within that space. You can also create multiple walls.
- What does “Kakeru” mean?
- Kakeru (掛ける) is Japanese for “to hang”, as in hanging a photo on a wall.
For other questions and screen-by-screen instructions, see the User guide(opens in a new tab).
Official hashtag
#kakeru_art — See posts on X(opens in a new tab)Use this hashtag to share your exhibition plans and experiences with Kakeru.
Free + optional support
Kakeru is free. Optional support helps fund improvements, maintenance, and hosting. It does not include rewards, extra features, or priority support.